By Kevin Morrow — For Rattling Chains
In my original post about dyeing discs on Rattling Chains, I wrote about how I got into dyeing discs and gave some other thoughts on the process.
I’ve been dyeing discs for a couple of months and have received a lot of feedback on how good the discs look. I’ve also had people who are interested in doing it ask a lot of questions about the process.
I’m going to explain my process with a step-by-step look.
First, you need some specific tools to make it easier.
A light source, such as a light table, and an Xacto knife with No. 10 blades are needed. I use a new blade for each mask I cut. (Sometimes, however, I will use the same blade for multiple small designs).
My light source is something I have left over from my pre-digital photography days — a Logan desktop light box I used to edit negatives. You might be able to find these pretty cheap as most photographers who went digital could have them sitting in a closet collecting dust.
Another way to get a light source is if you have a glass table, put a lamp under it.
Other items needed include a black Sharpie marker, a roll of simple masking tape and an old credit card.
For supplies, I use Orcal 651 clear vinyl, which I get from U.S. Cutter. I use the clear vinyl because it’s easier for me to see through. I also use iPoly Dyes (iDye for polyester fabrics), which I get from Dharma Trading. I don’t use Rit dyes because they changed the formula, meaning one has to find certain lot numbers and that can be a hassle.
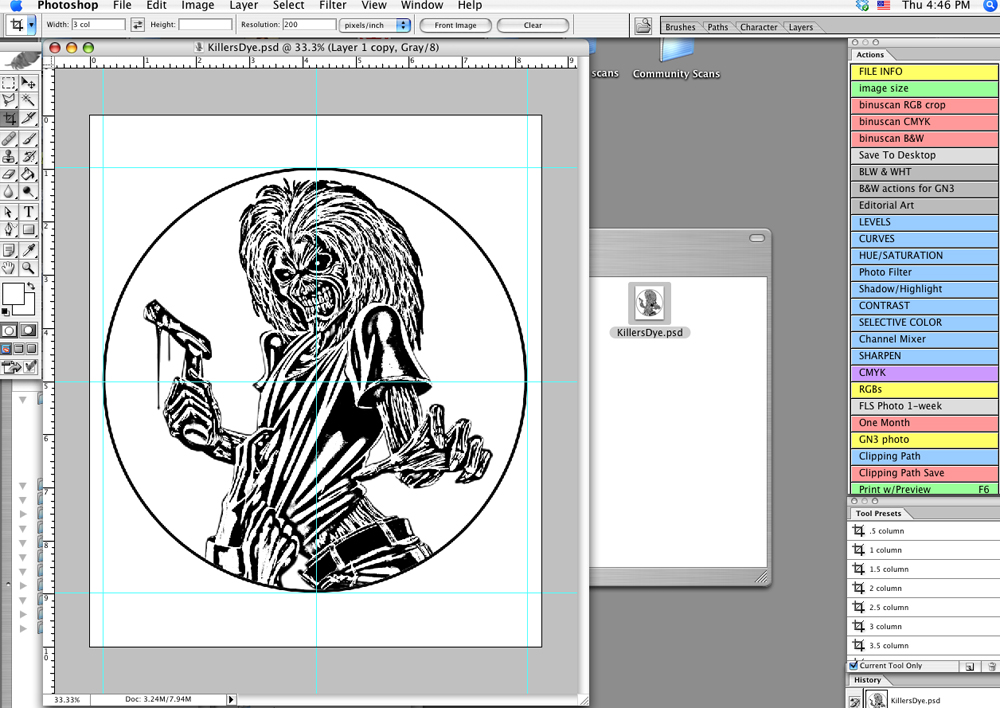
I do my design work with Photoshop.
With everything you need in hand, it’s time to get your art ready. I do all my designs in Adobe Photoshop. But use whatever art program you are most comfortable with.
I have a base file that is an 8-inch circle because most discs are about 8.5 inches in diameter. I started with a full color album and worked it to black-and-white line art. Once you get it the way you want, print it out and tape it to the backside of a square of the vinyl.
Then cut the vinyl at least an inch larger than the print on each side. I usually like to have about two inches extended from the edge.
