By Steve Hill – Rattling Chains staff
What better way to celebrate America’s birthday than rattling some chains today, right?
But before you head out, here’s some eye candy in the form of patriotic disc art. A big thanks to the readers who contributed these photos for everyone else to enjoy.
Be safe, have fun, and happy Independence Day!

A patriot on a Legacy Patriot, courtesy of Adam Hassett of Sweet Hat! Disc Supply.
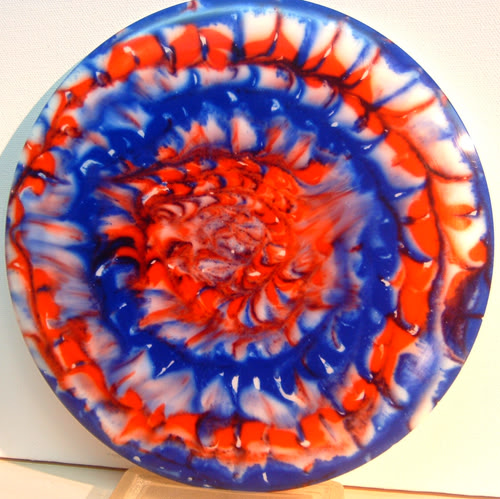
A red, white, and blue shaving cream dye, courtesy of Brian Pierce.

A whole stash of U.S.A.-themed discs, courtesy of Army Infantry Sergeant Andrew Belet. Thank you for your service!

More patriots, this time with the spin-dye treatment by Dan Howard on some Skulboy discs. Photo courtesy of Skulboy.

Regardless of your political leanings, Kevin Morrow’s talent shown on this glow Leopard is undeniable.

Nothing like getting a flag dye straight from the Innova factory on an Augusta Wraith, courtesy of Jeff Corbin.

A Dynamic Discs Dyemax in honor of 9/11, courtesy of Wade Racher.
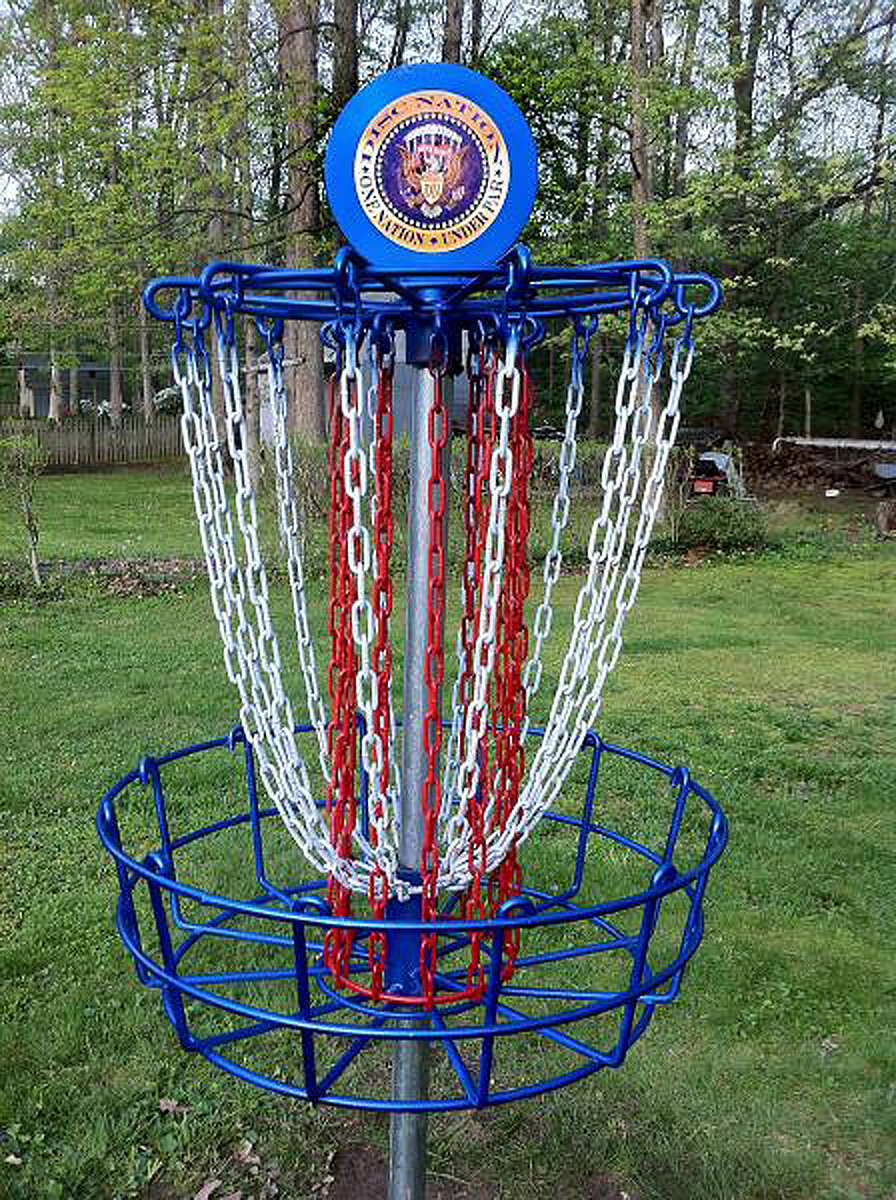
A disc alone wasn’t enough for Kevin Morrow, who also blasts these patriotic chains.
Steve Hill is the associate editor for Rattling Chains. Email him at steve@rattlingchains.com and follow him on Twitter @OneMileMore.